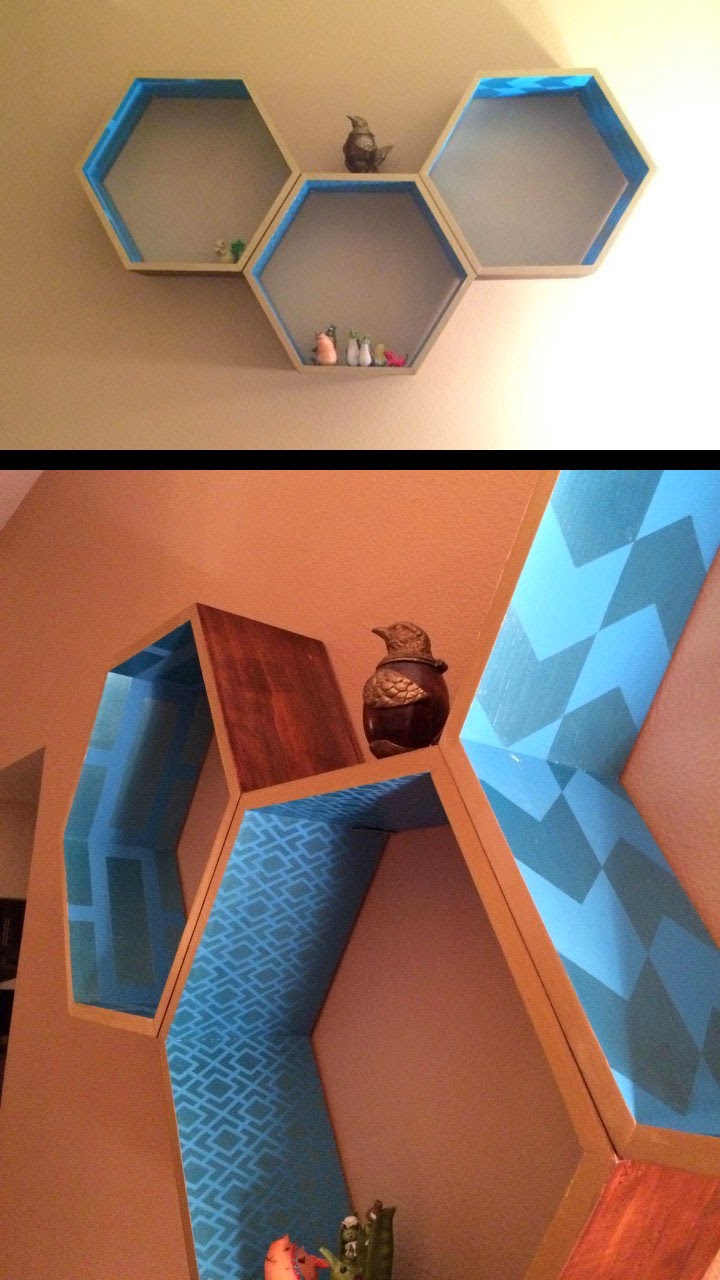
For my birthday, I asked Walter to create me some hexagon shelves. As everyone has seen, they are quite the trendy thing right now, yet they are so expensive to buy! In addition, everywhere i've seen them for sale, they are tiny! They couldn't even hold a book, which to me seems as if it defeats the purpose.
My condo has the perfect wall for hexagon shelves, and I thought they would be a great craft for him. When I finally got my rtf shelves, I was sooo impressed. He made 3 of them, and said we were going to finish them together.
Since we didn't know what to do first, I painted the insides of one hexagon and he stained the outside of a different hexagon. Rookie mistake. Painting before staining never ends well. The stain is much darker than the paint and if it splatters in the slightest, you gotta repaint. I also should've looked up how to stain wood. We were putting on way too much stain, which made the drying time seem like eternity.
When we finally finished staining the wood of all three shelves we had to repaint the insides. This is when Walter came up with an awesome idea to add patterns to inside of the shelves. To make the pattern stand out, but also remain subtle, we used a metallic color in the same shade as the base. He taped off the designs with painters tape.

Pretty soon we had 3 awesome looking shelves!
Andddddd all three shelves are finally mounted....